Headliner
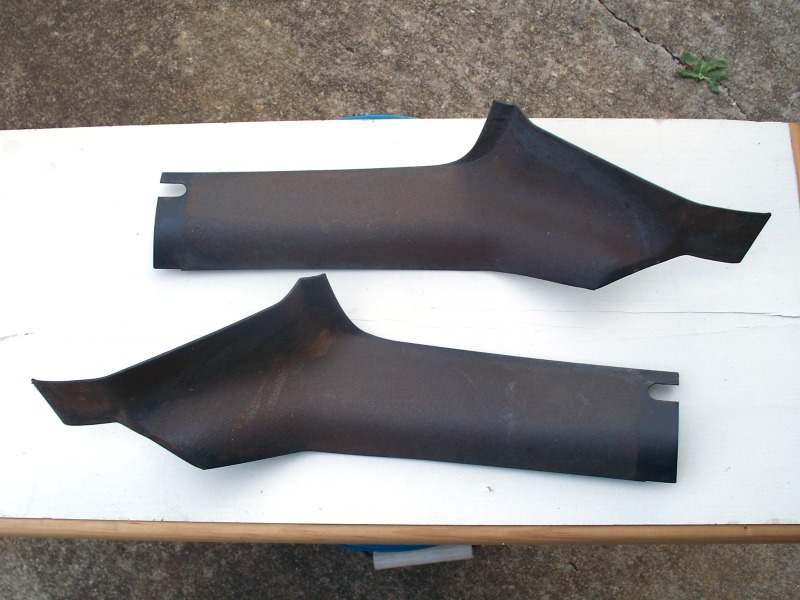
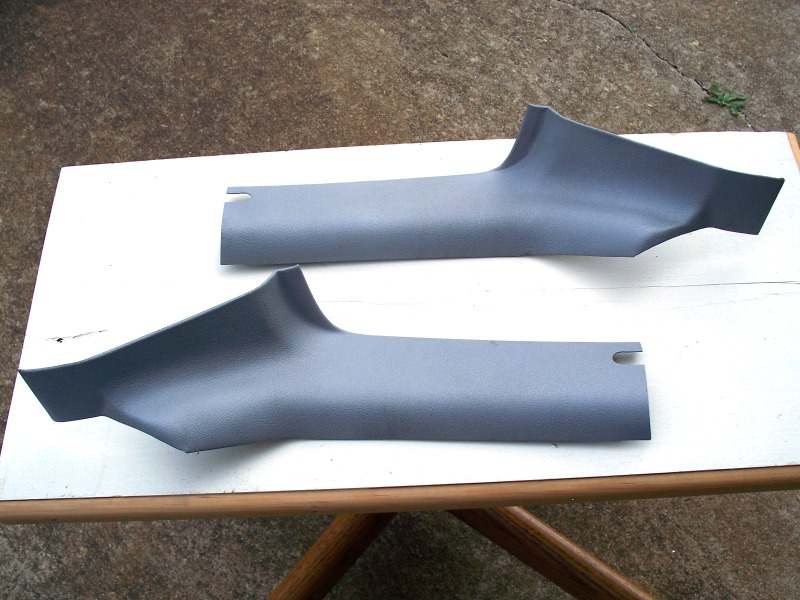
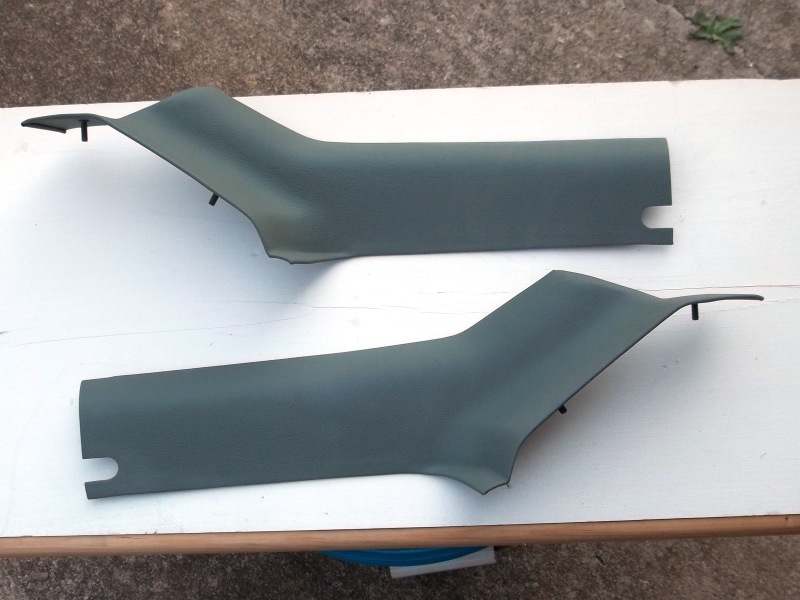
I'm going to be using the rear shelve trim from the '71Grabber parts car to replace my plastic trim. The metal trim was showing some surface rust on the textured finish so it got bead blasted and then sprayed a coat of etching primer and 2 coats of satin black trim paint.
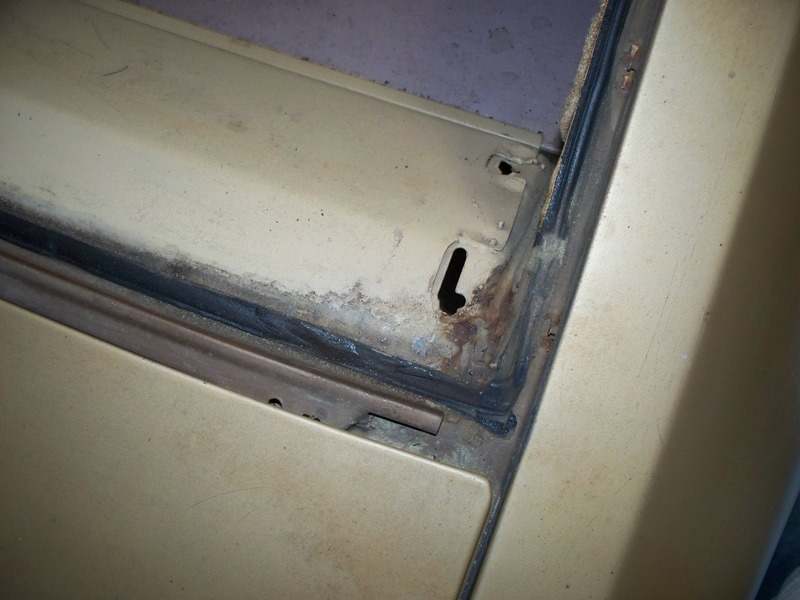
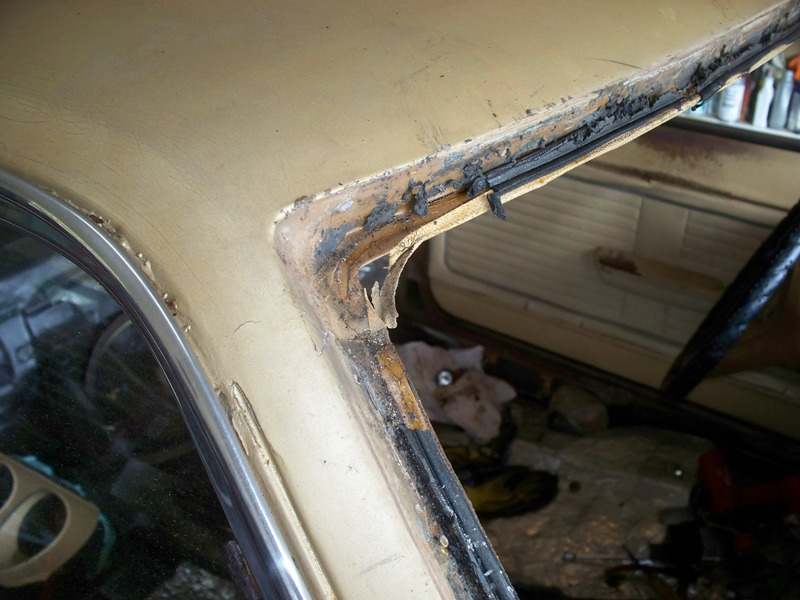
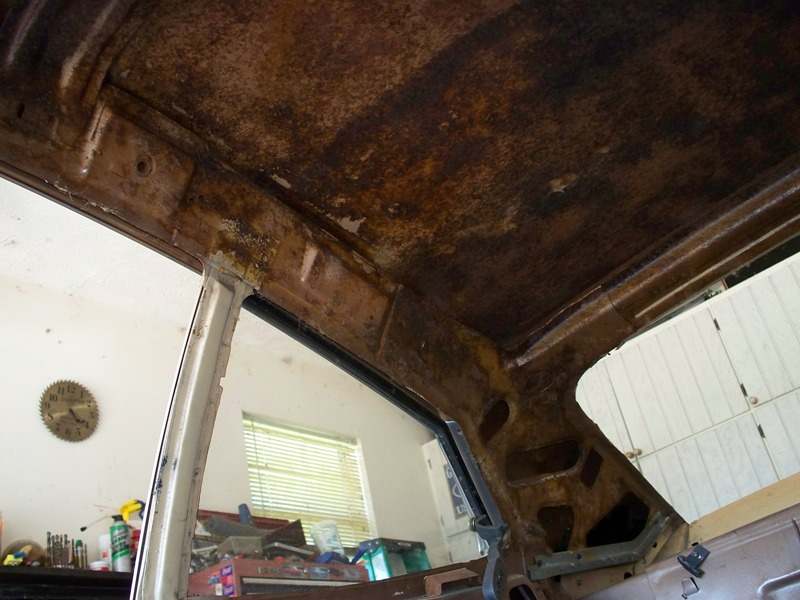
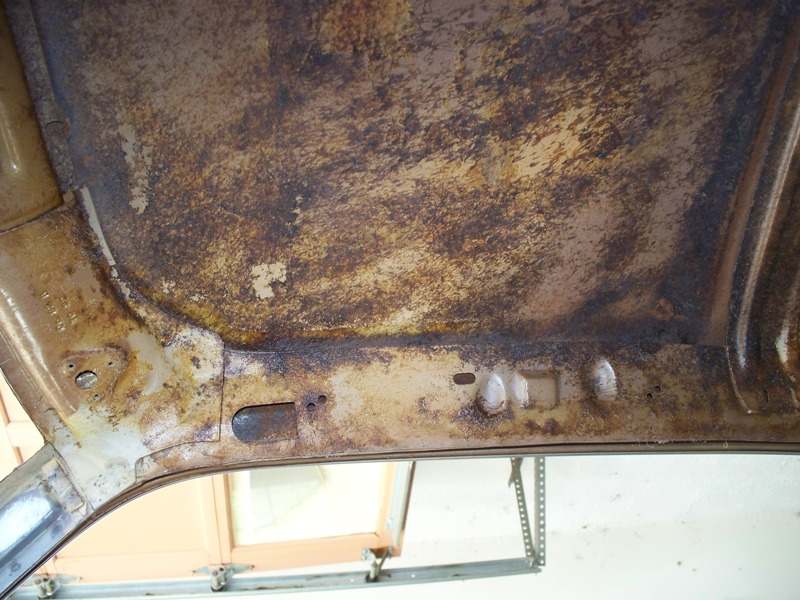
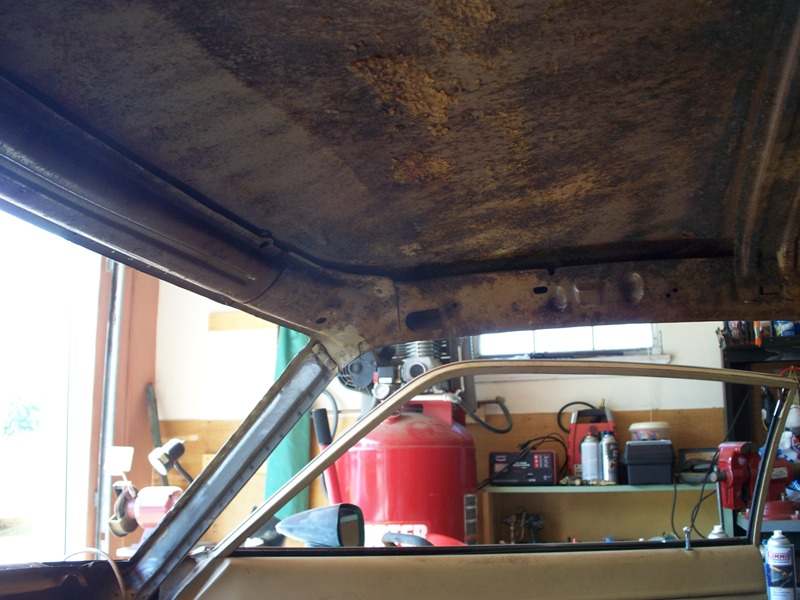
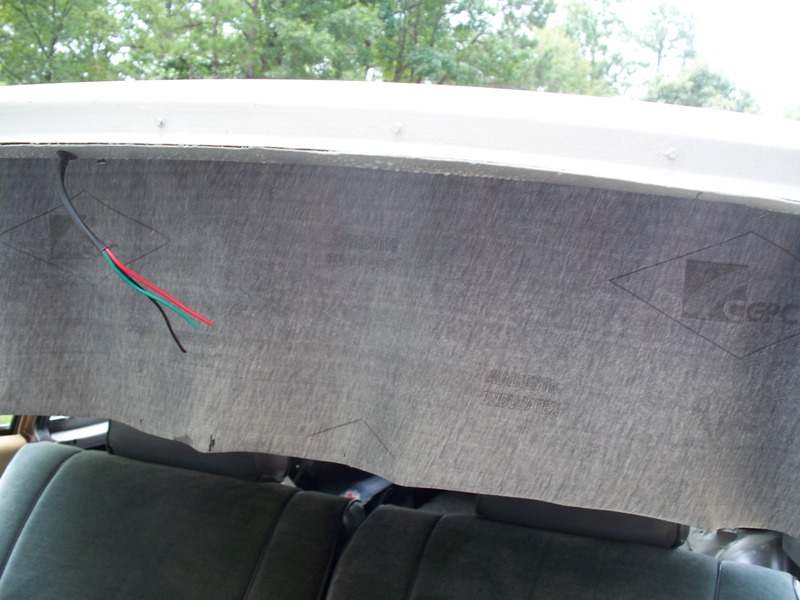
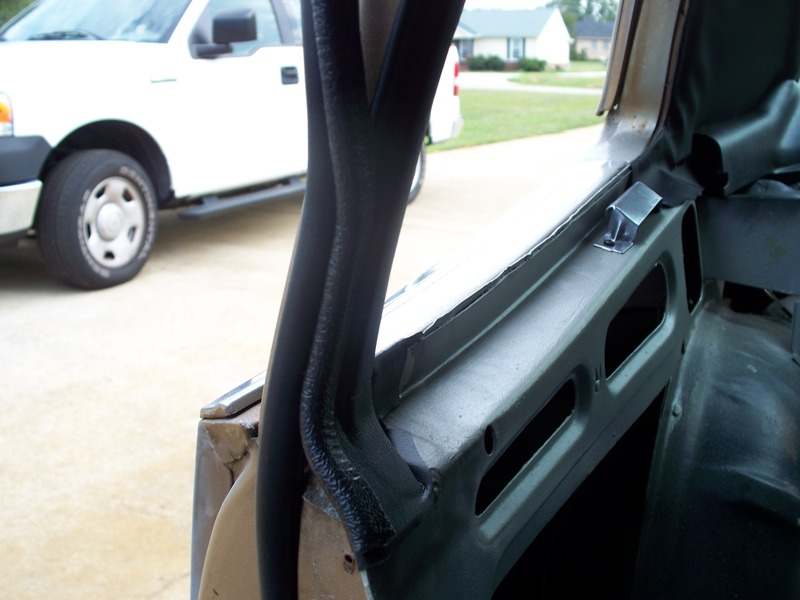
After removing the sun visors, dome light, coat hooks and weather stripping I reached through the window openings and pulled the old headliner down. Although it looks like rust on the backside in the photo's, and in person also. It sure scared me when I first saw it. My first though was the whole roof will need to be replaced. What it is, is the glue used to hold up the thin carpet/headliner. Light sanding with the D/A knocked off the glue residue and dirt with ease, wire wheel on a drill got in the corners were the D/A missed.
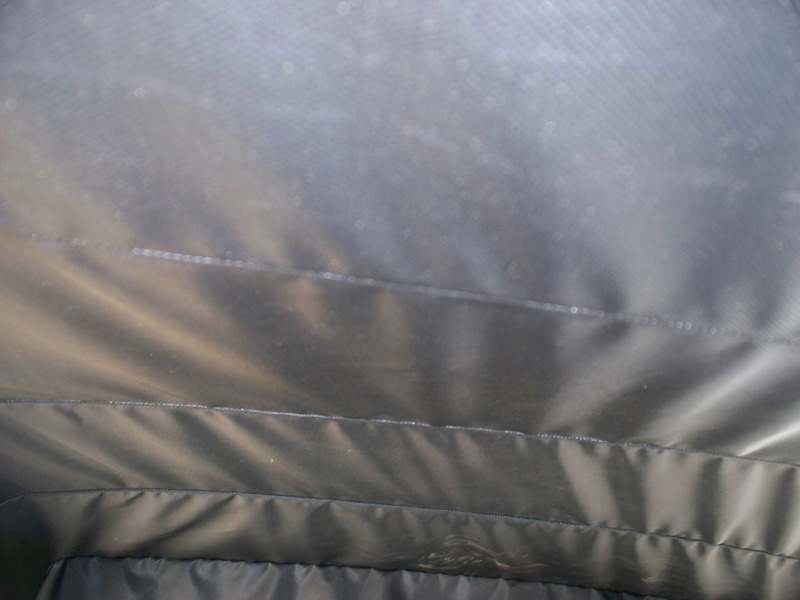
A coat of Rust Bullet was brushed on the roof and railing. 2nd coat was sprayed the next day. Giving another two days to allow the paint to air out it's gasses a layer of Peel & Seal was added. It's hard to see because of the reflection in the photo but the Peel & Seal is also applied behind the roof channel.
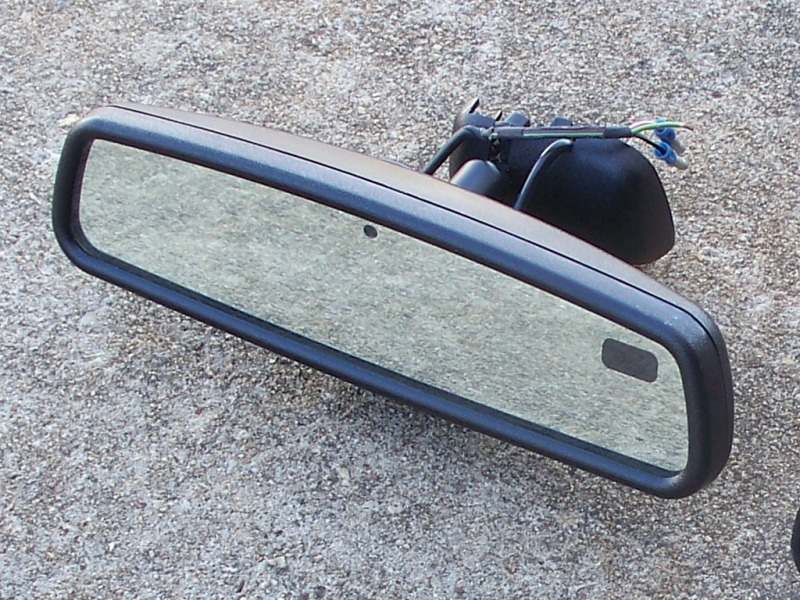
I ran three wires, switched 12v, ground and one for the reverse lights, to the auto-dim/compass rear view mirror.
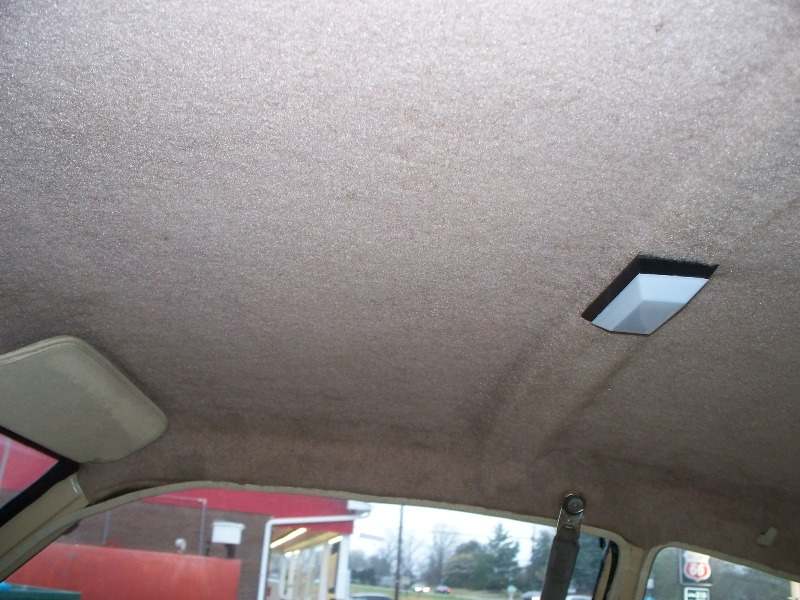
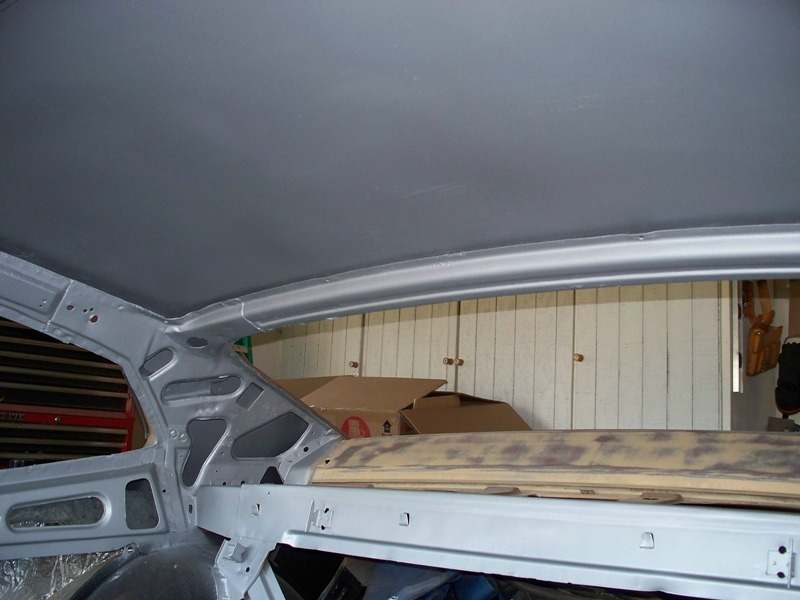
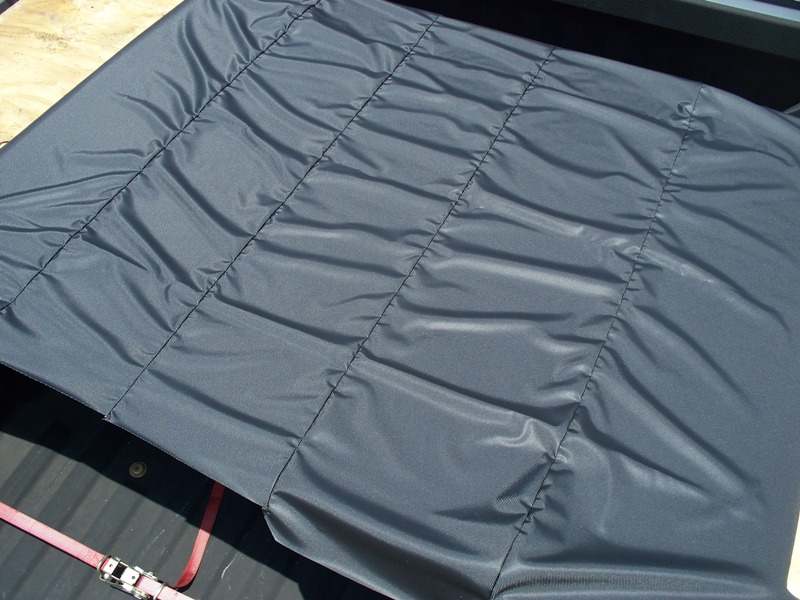
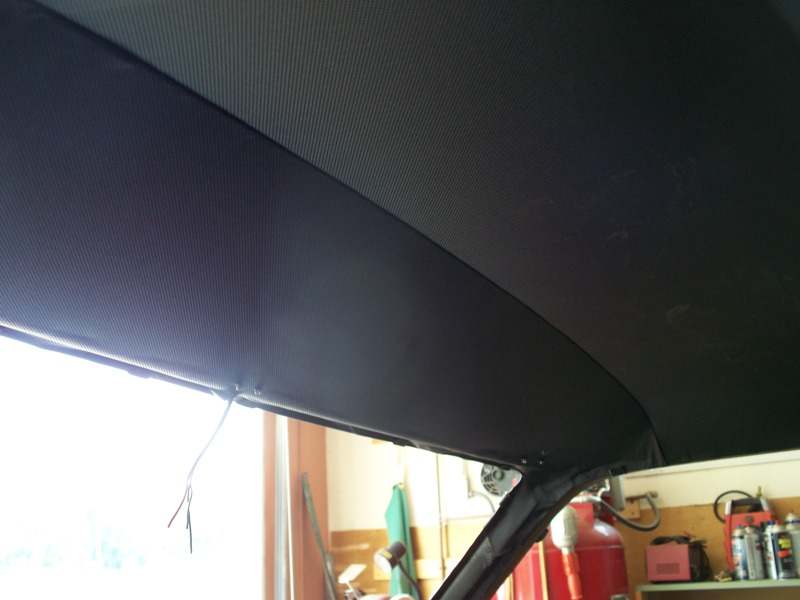
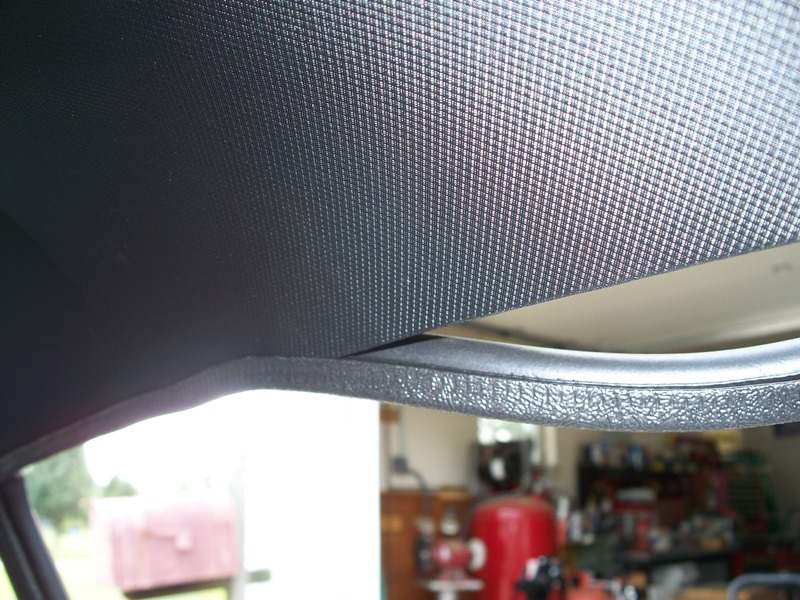
I was going to attempt to install the headliner myself but decided to let a professional handle this task. I called a friend who has a friend who has his own shop with 38 years experience doing trim work.
After the headliner was done, I stopped by the glass shop to install a new windshield along with the rear tinted glass that I got from Earl.
It took me only a few minutes to install the new roof rail weather stripping and glue the rearview mirror on the windshield. The new rear quarter glass seals fit like a charm. New dome light and coat hooks added to the finish look.