|
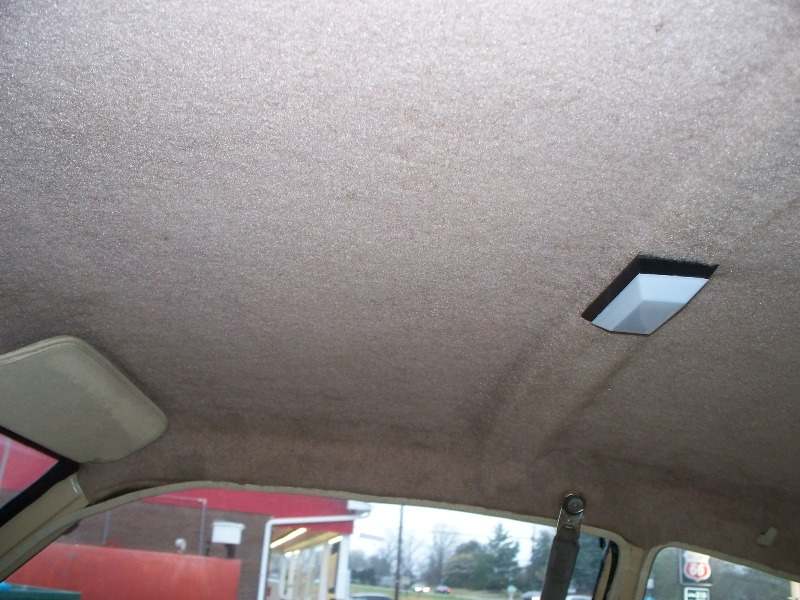
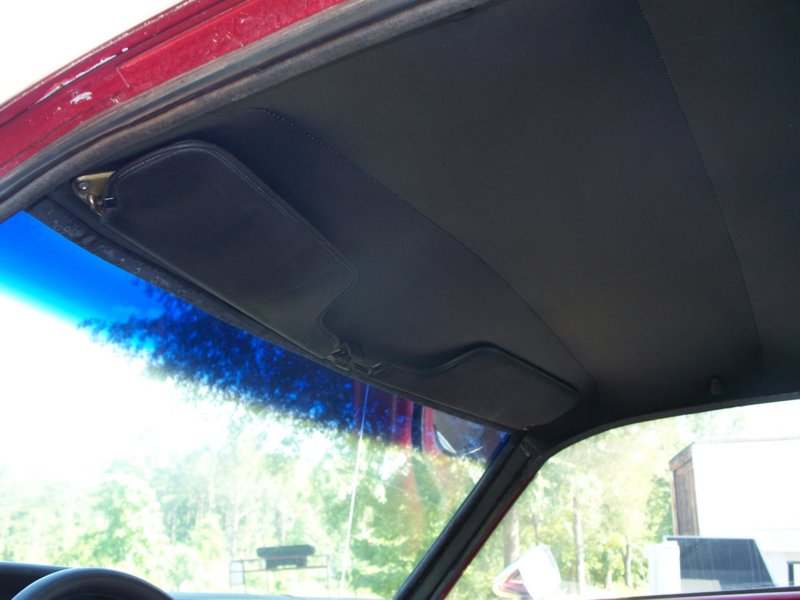
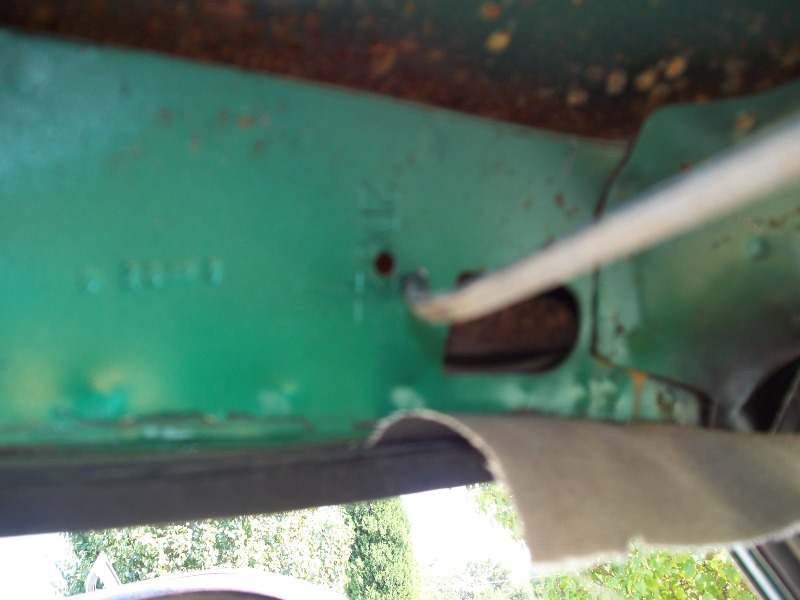
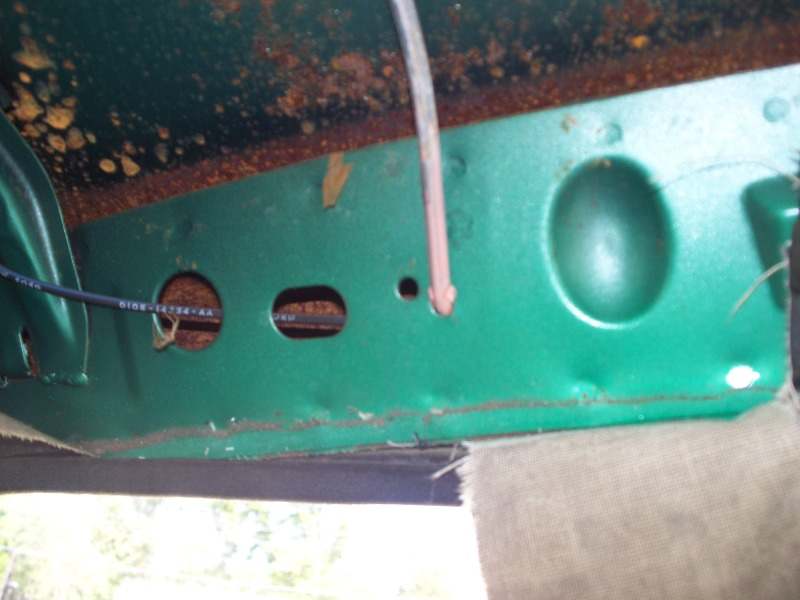
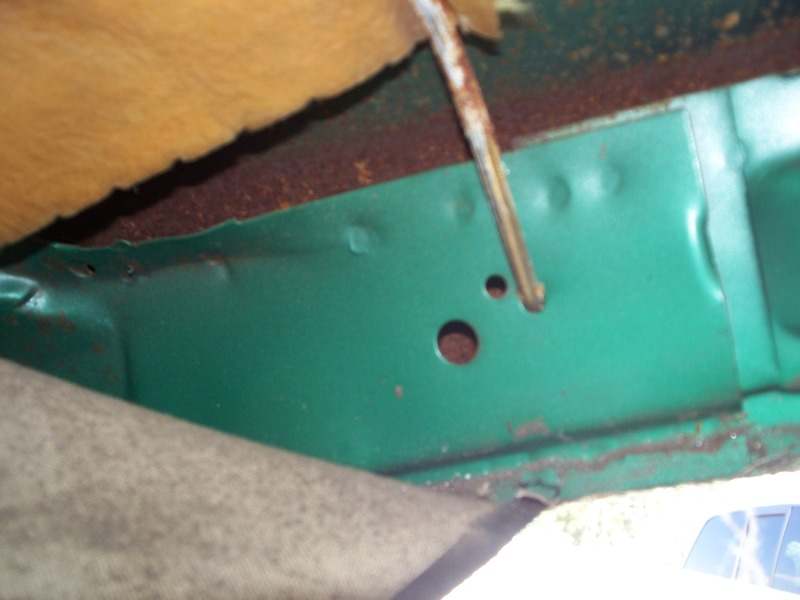
When I got my Maverick it didn't have a real
headliner. Instead it had a light weight carpet or blanket glued to the roof. I
think a bow type headliner is what makes a classic car and this is something
that I will be changed back to look original sometimes in the future. I learned from replacing the
headliner in my Falcon that the bows are color coded from the factory and not
following this code the headliner will not fit correctly. If this is not complicated
enough to figure out without a clue what color bow goes where they are
also two sets of holes to choose from to put the bow in the correct hole on the
roof rail. This is what I found out while
getting a set of bows from a '71 Grabber. Starting at
the front windshield and going back to the rear glass the colors are Black,
Pink, Grey and Gold. The last bow will have
two small retaining wires that hook over the bow (obviously the hooked end up) and the other end is pushed
through a hole in the roof rail above the back windshield. The different color
ends go toward the drivers side, the passenger side of the bows are all painted
yellow. The bows went in the lower holes in the roof rail.
--From the Shop Manual-- REMOVAL
AND INSTALLATION
HEADLINING
The following headlining removal and installation procedures generally apply
to all models. If some of the steps do not apply to the particular model
being serviced, proceed to the next step.
Removal
1. Remove the sun visor and bracket assemblies (3 screws).
2. Remove the windshield upper garnish moulding (6 screws). Note: Visor
center clip attached. Remove the upper screw from the two windshield side
garnish mouldings and position the mouldings away from the windshield A
pillar.
3. Remove the shoulder strap assemblies (1 bolt each) and the shoulder strap
retainers and coat hooks (1 screw each).
4. Remove the roof side center garnish mouldings. On all 4-door sedans,
first remove the center cap from the junction of the front and rear side
mouldings at the center pillar. On some 4-doors, there is also a joint cover
at the rear quarter. On 2-door hardtops, there is one joint cover at the
rear quarter.
5. Remove the rear seat cushion and back.
6. Remove the right and left quarter trim panels.
7. Remove the roof side rear trim covers (right and left).
8. Remove the back window garnish mouldings. Bend the retaining tabs and
remove the package tray and deadener.
9. Bend up the tabs on all retaining strips and unhook the headlining from
the tabs.
10. Remove the dome light. Pry off lense and remove (4 screws).
11. Remove the staples that fasten the headlining to the roof side retainer
assemblies and around the back window.
12. Pull the headlining loose from the cemented area at the windshield
header.
13. Unhook the right and left retainers from the headlining rear support
rod, disengage all support rods from the holes in the left and right roof
rails, and remove the headlining from the vehicle.
Installation
1. Unpackage the new headlining and lay it out on a flat surface. Mark and
trim the new headlining using the old one as a pattern.
2. Trim the listings on the new headlining to the approximate length of
those on the old one. Remove the support rods from the old headlining and
install them in the same relative rod listings of the new headlining.
Roof headlining support rods are color coded at each end. When ordering new
rods, be sure to note the color at each end of the rod.
3. Position the headlining in the vehicle. To maintain the most driver
headroom and wrinkle-free headlining, insert the support rods into the upper
holes in the left and the lower holes in the right roof rail except in the
following cases. If the headlining is wrinkled (not taut enough) use the
upper hole on both sides. If the headlining is too taut, use the lower hole
on both sides.
4. Hook the rear retainers to the rear support rod.
5. Staple the headlining to the retainer assemblies, bend down the tabs on
the retaining strips, and hook the headlining to the tabs.
6. Cement the headlining in place at the windshield header and trim the
excess material.
7. Install the roof side rear trim covers, the package tray, the rear window
garnish mouldings and quarter trim panels.
8. Cut a hole in the headlining material for the dome light and install the
lens and bezel.
9. Install all the garnish mouldings shoulder harness assembly, retainers
and sun visors.
|